Overview
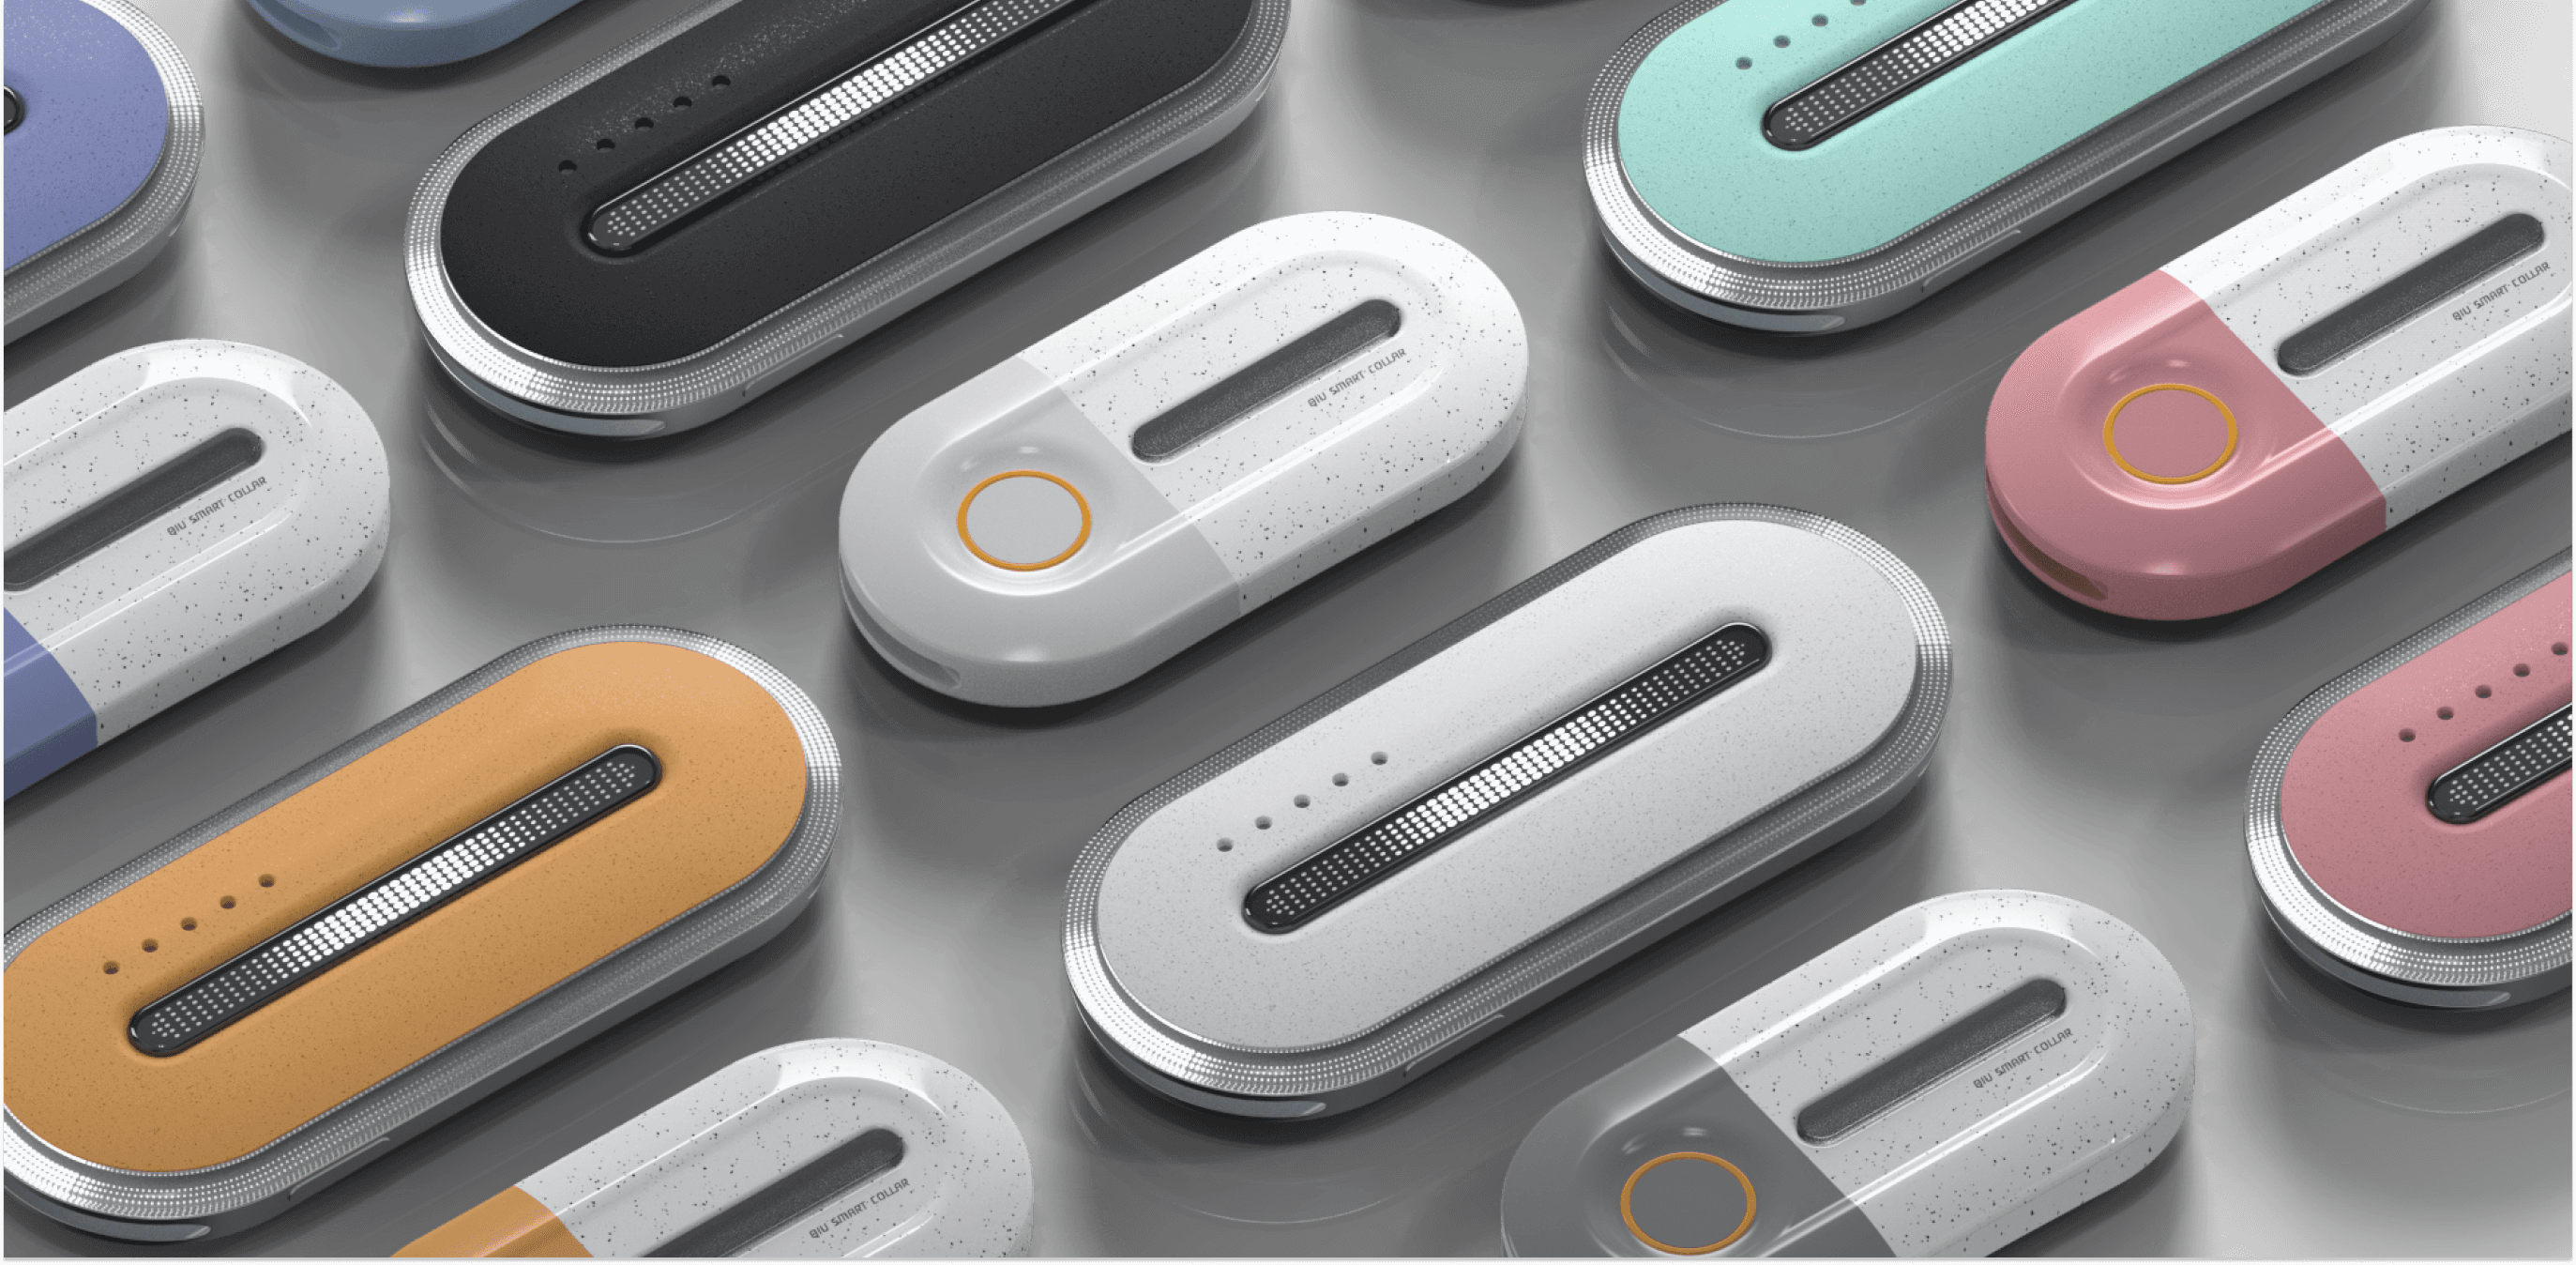
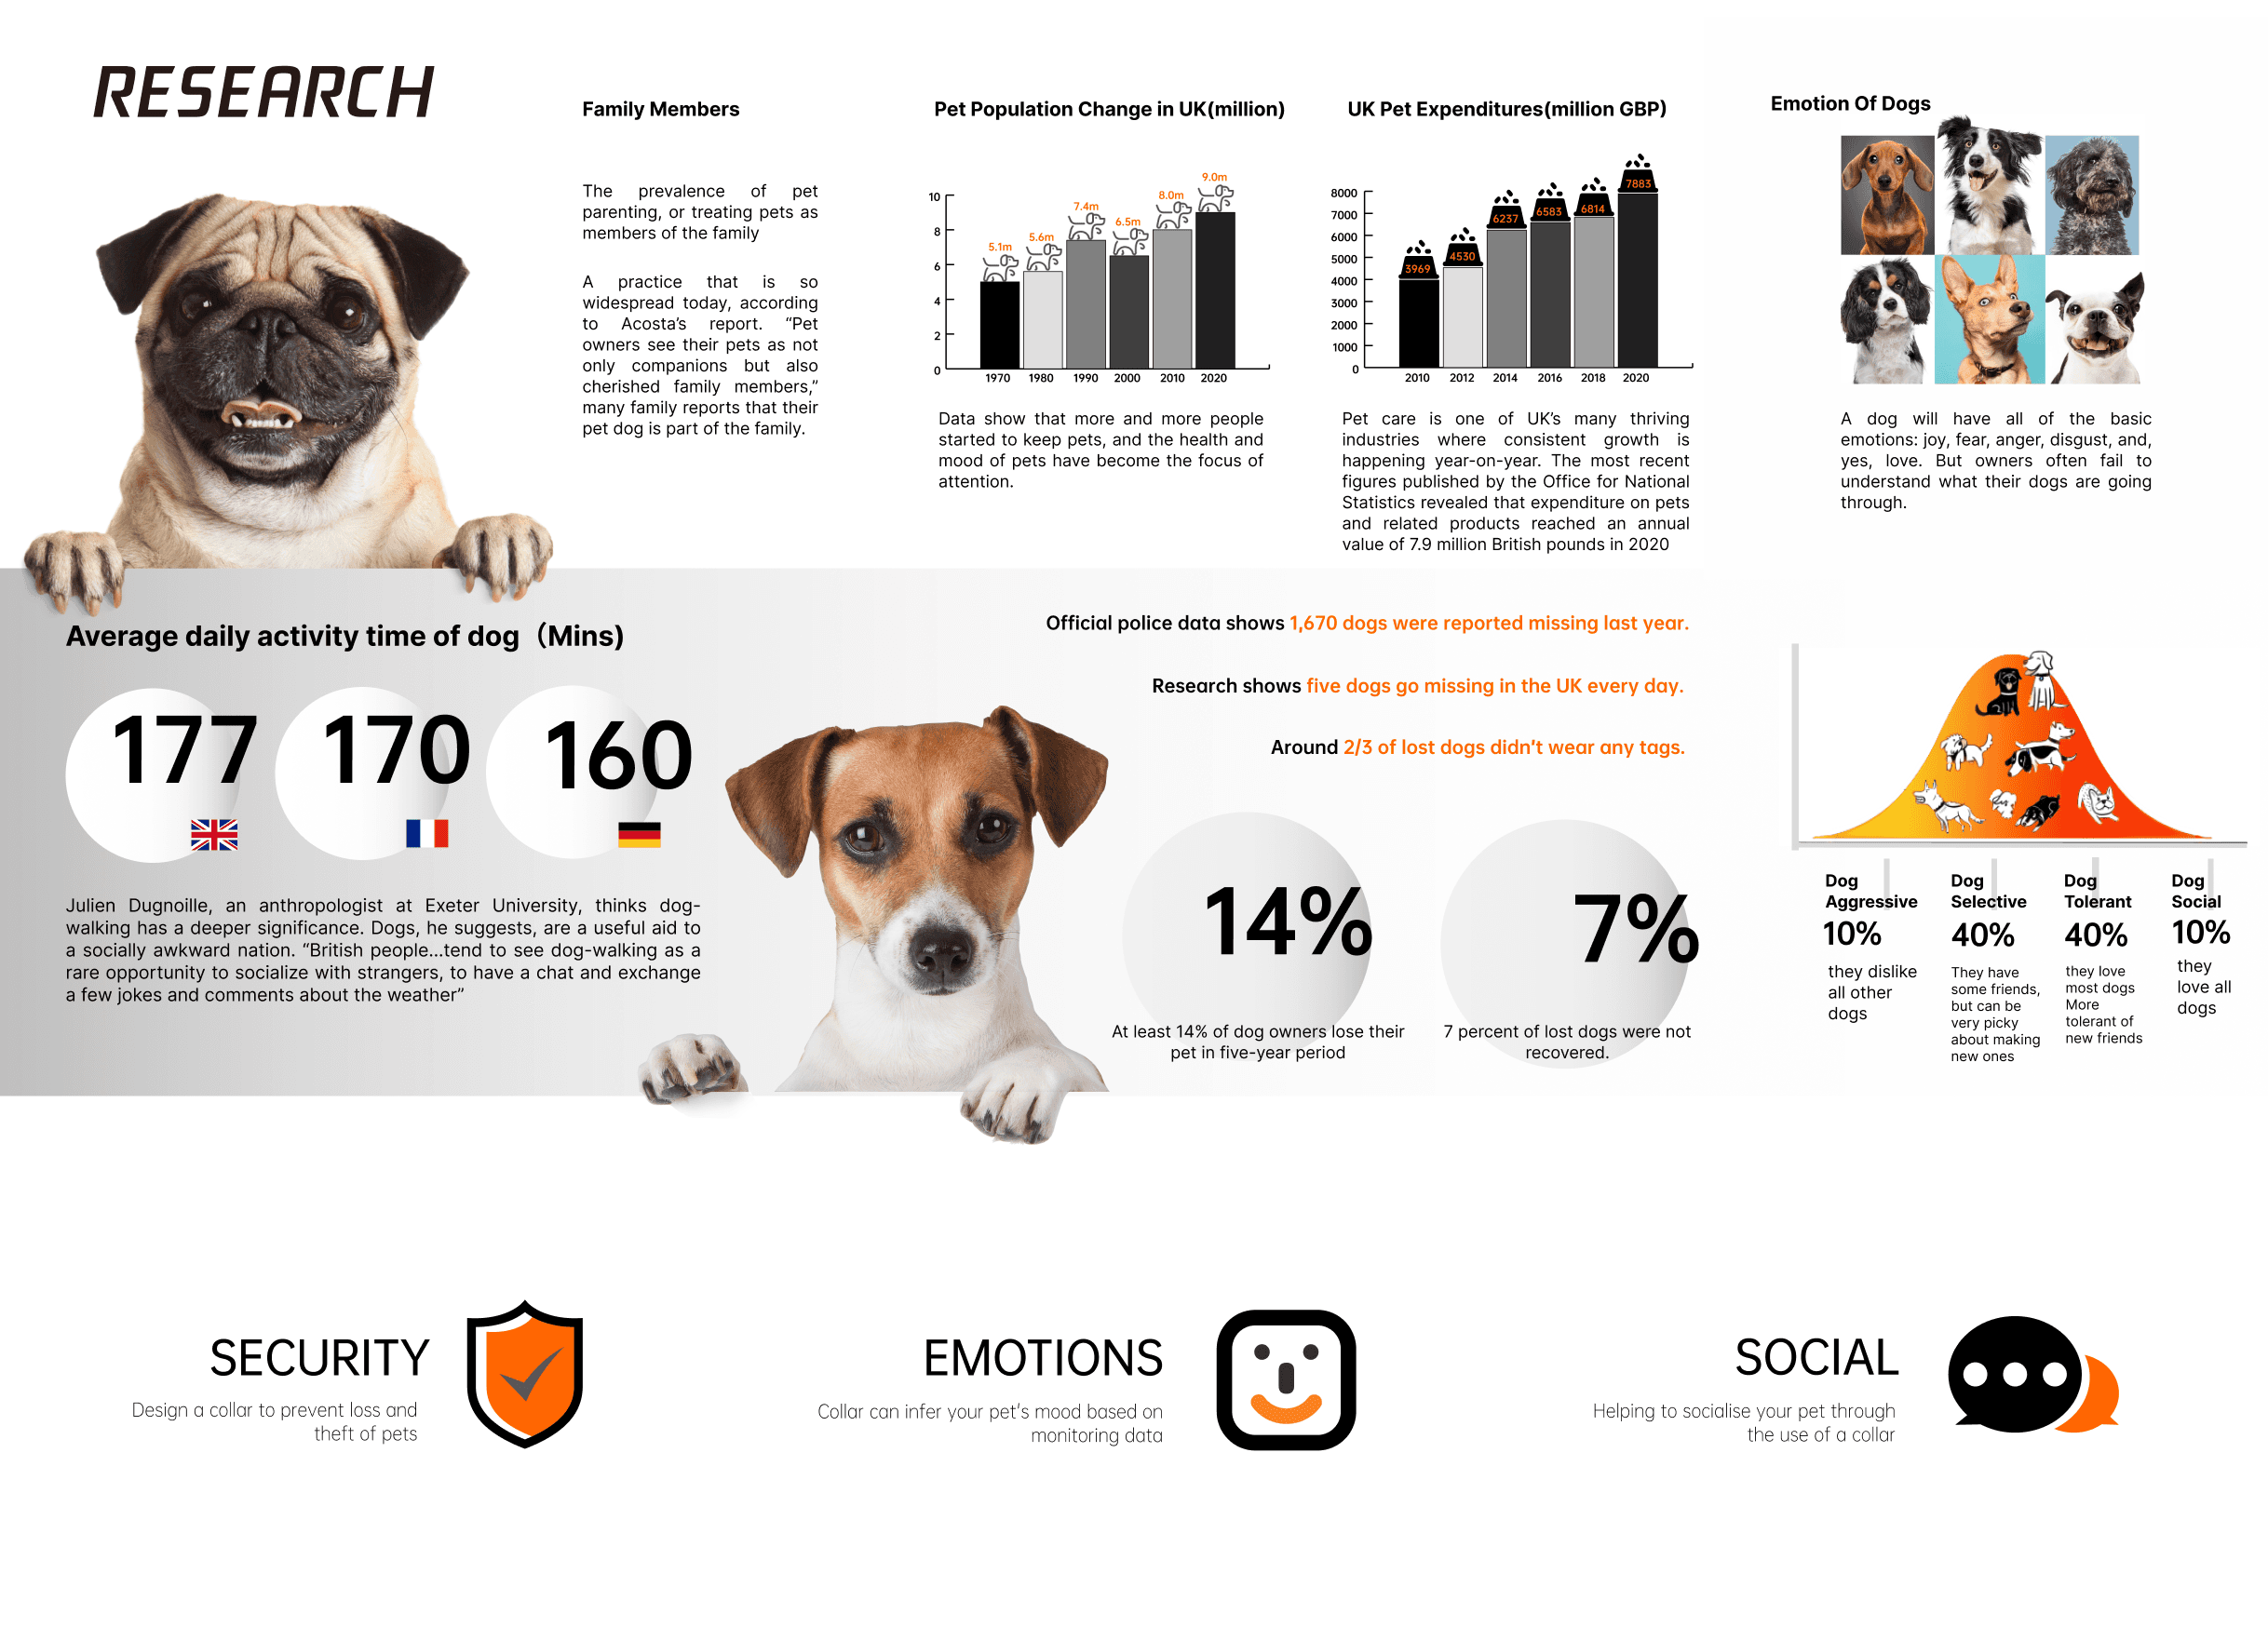
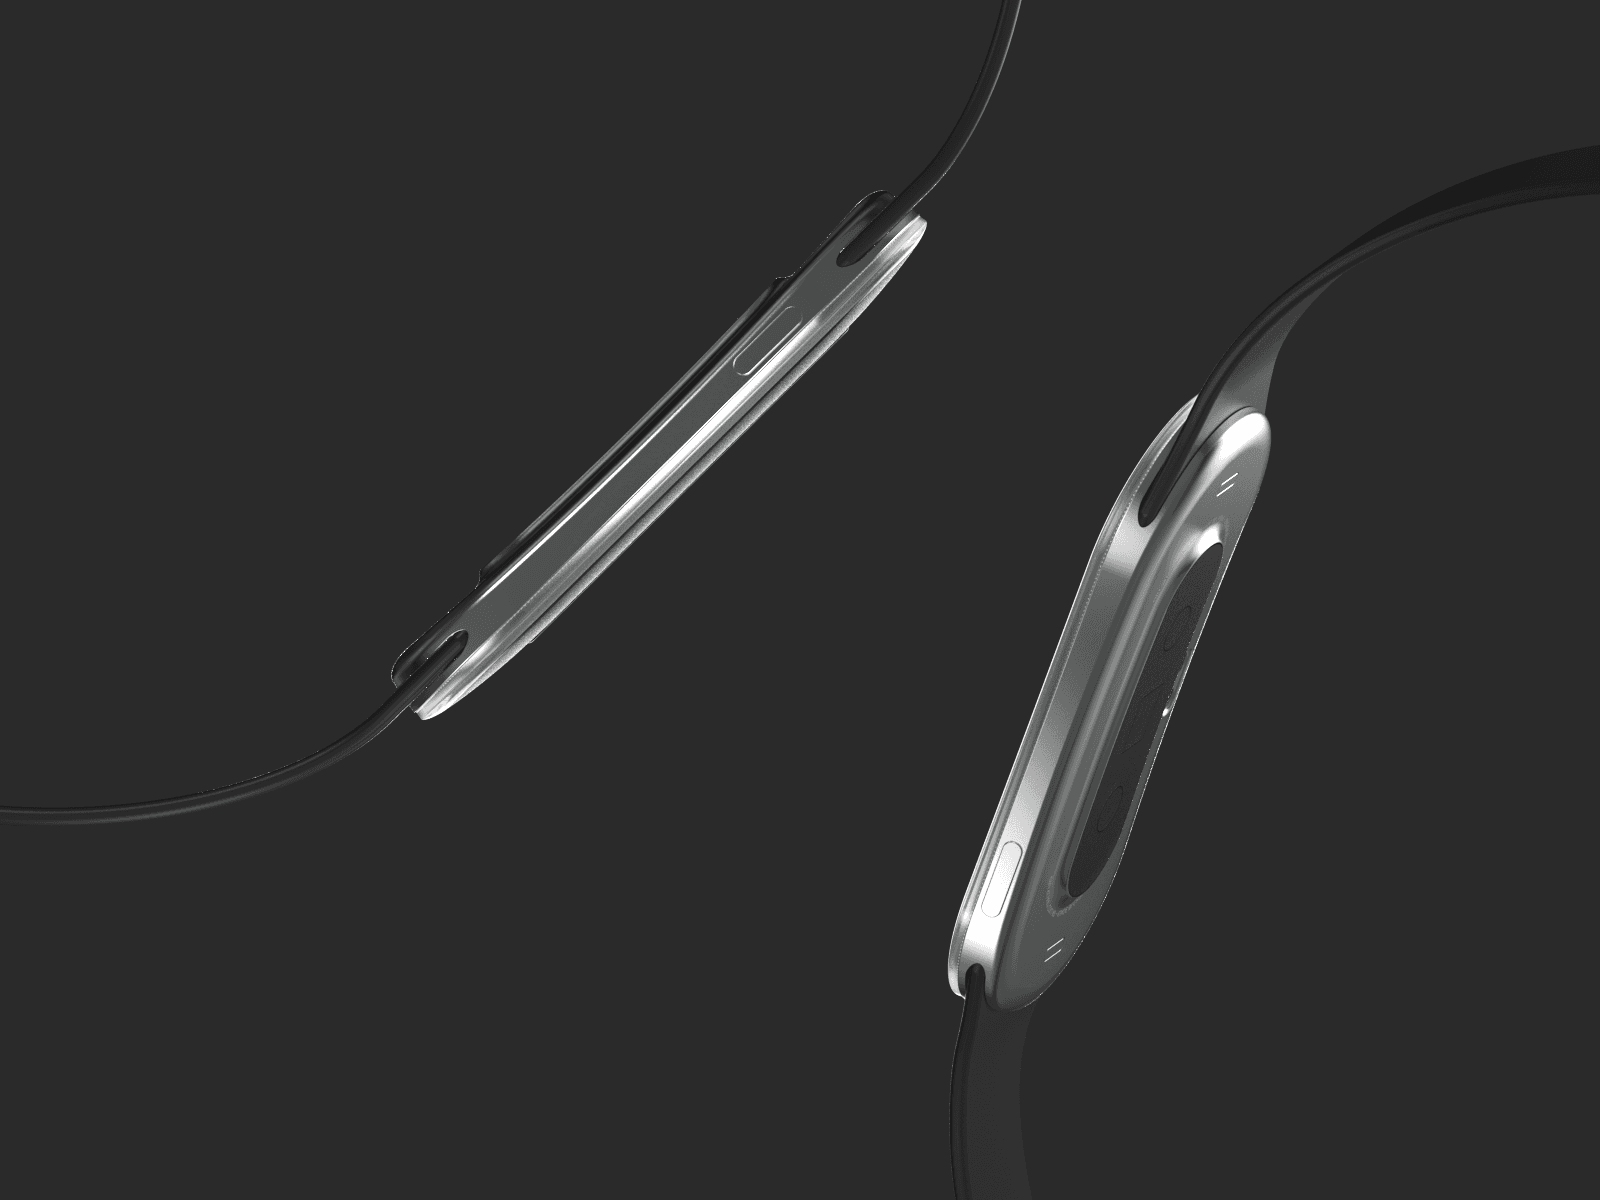
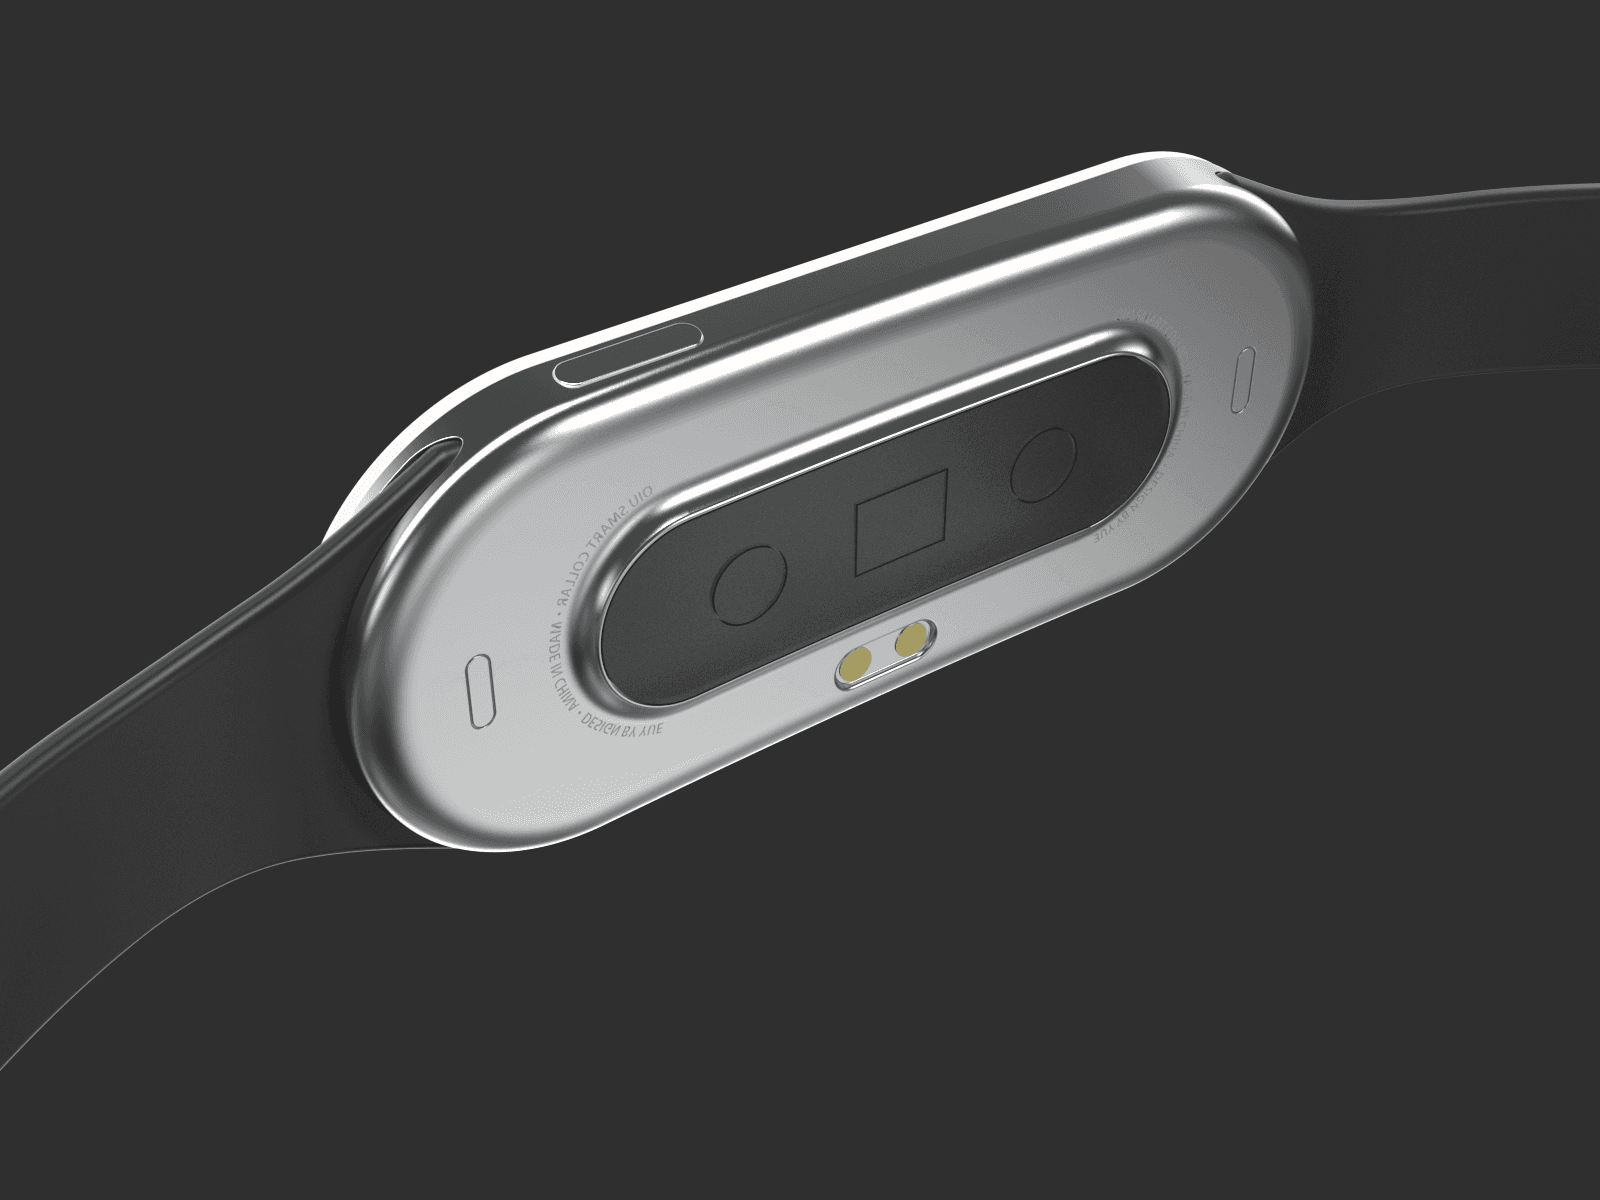
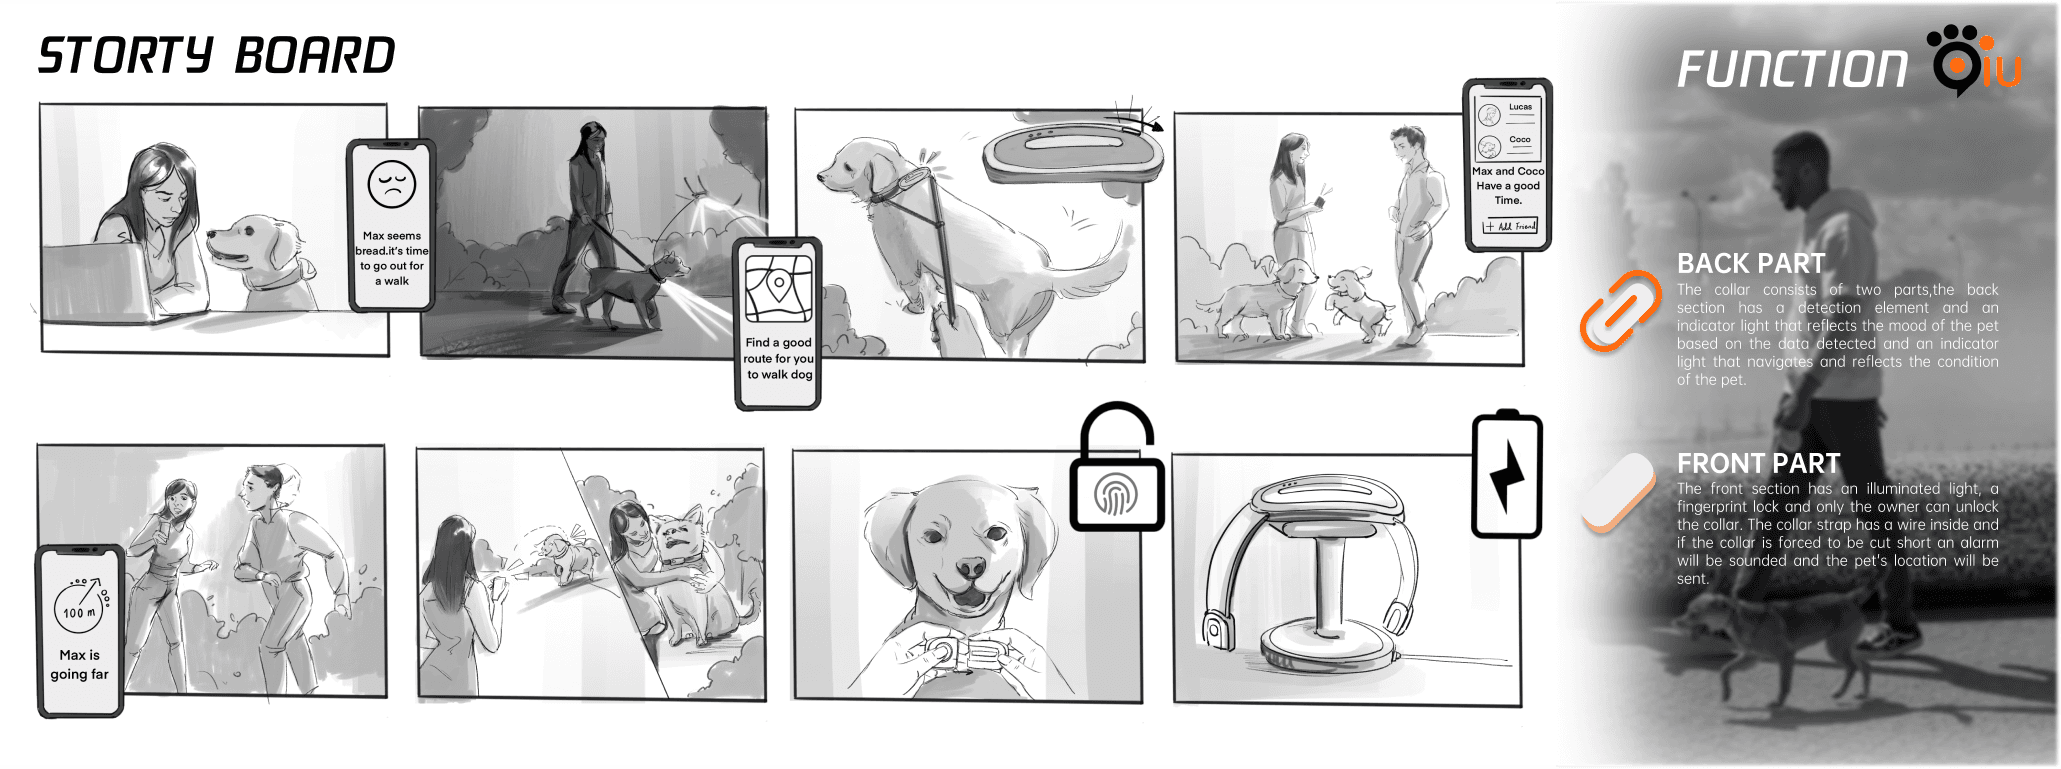
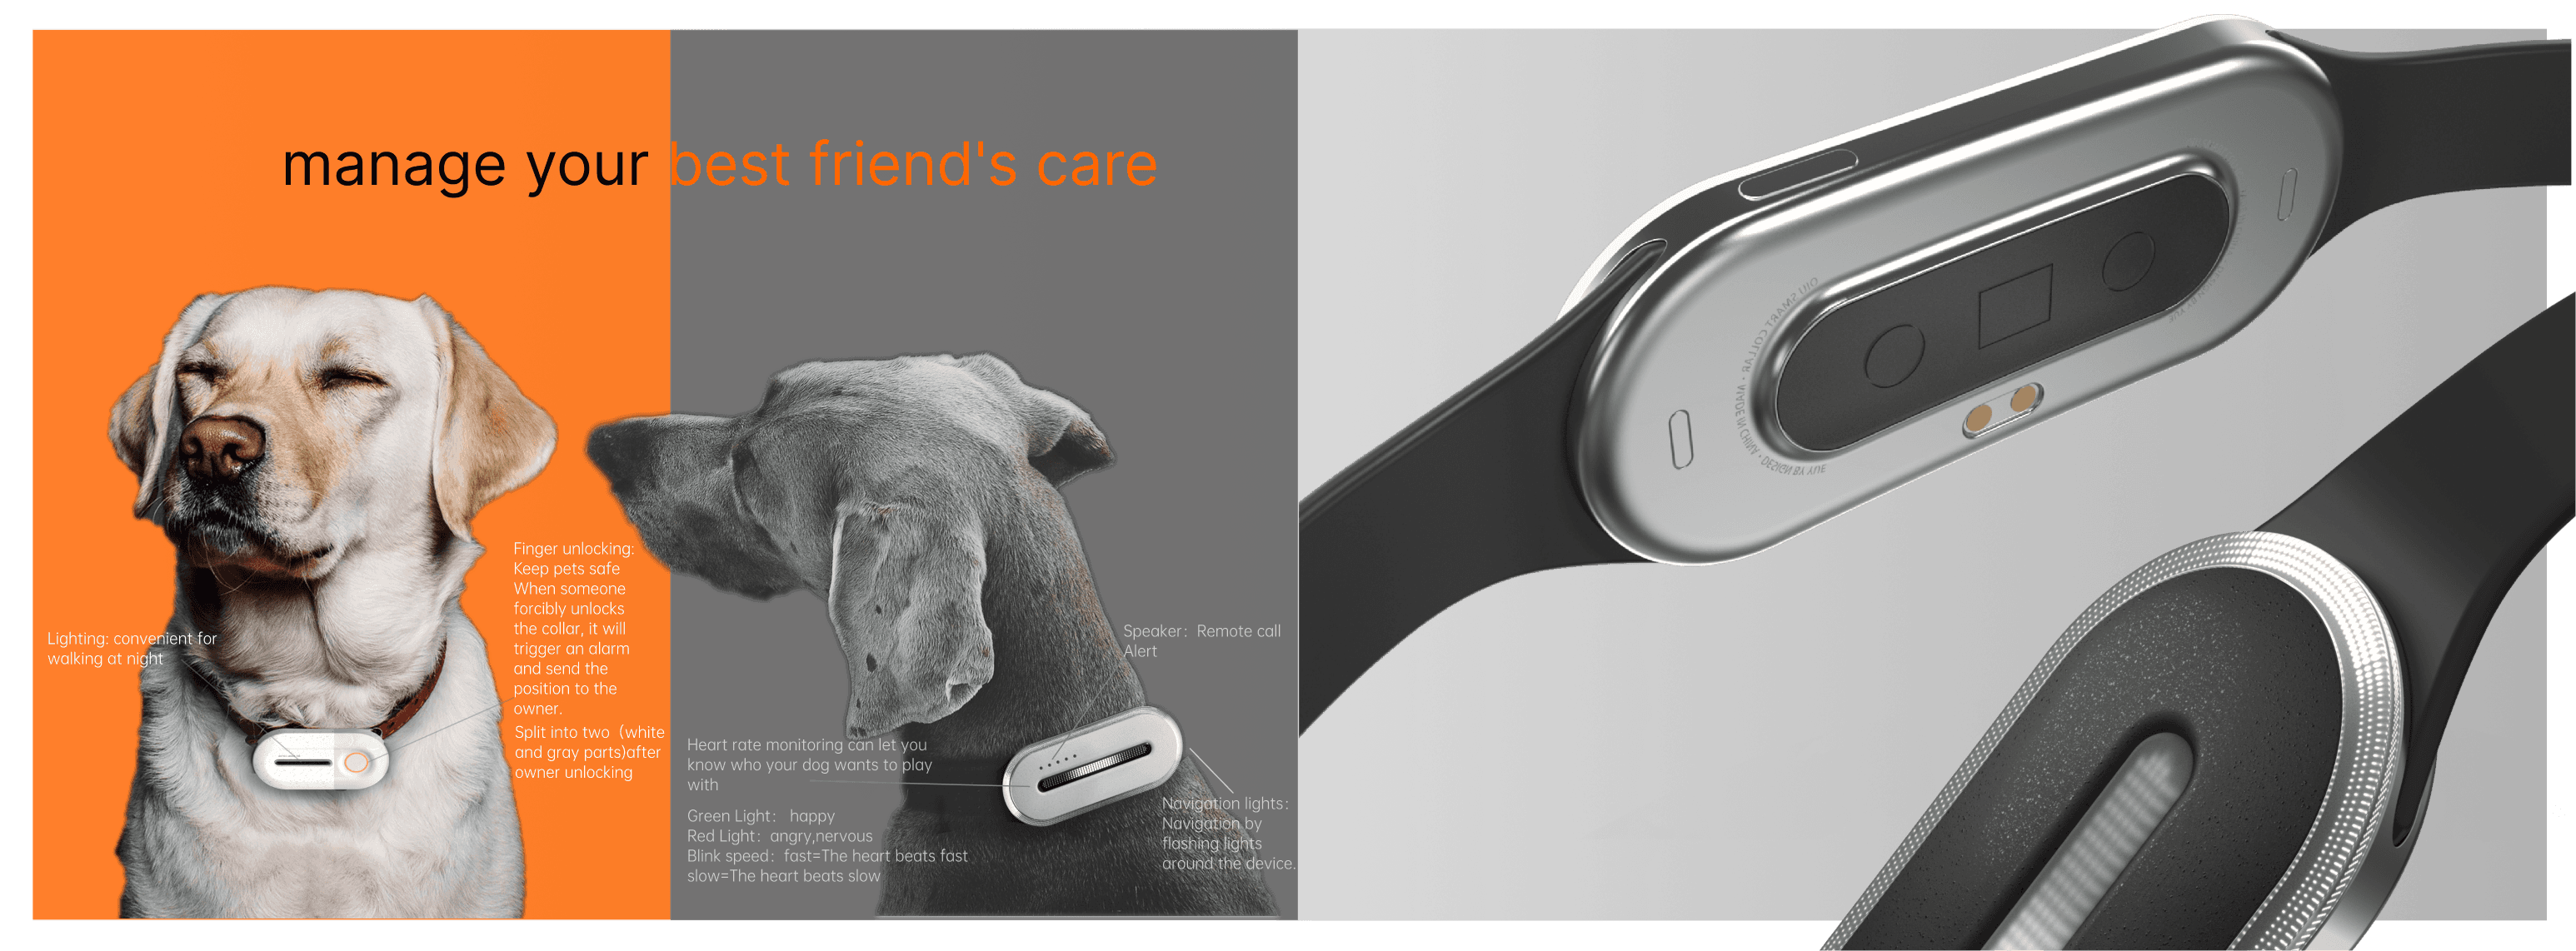
The Qiu Smart Dog Collar is an IoT project that helps users to better understand their pets, keep them safe and improve the dog walking experience. When I am at home I have a daily habit of chatting with other neighbours when I walk my dog, and I found that we all have concerns about pet safety and some of the problems we encounter when walking our dogs, so I had the idea to design a smart dog collar. I have a lovely dog in my family named QiuQiu, so I named this product "Qiu Smart Collar".
Skills
IoT
Product Design
Pet Design
Rendering:Keyshot
CAD:Solidworks, Fusion 360
Links
(ID)
Brief
The Qiu Smart Dog Collar is an IoT project that helps users to better understand their pets, keep them safe and improve the dog walking experience. When I am at home I have a daily habit of chatting with other neighbours when I walk my dog, and I found that we all have concerns about pet safety and some of the problems we encounter when walking our dogs, so I had the idea to design a smart dog collar. I have a lovely dog in my family named QiuQiu, so I named this product "Qiu Smart Collar".
Development
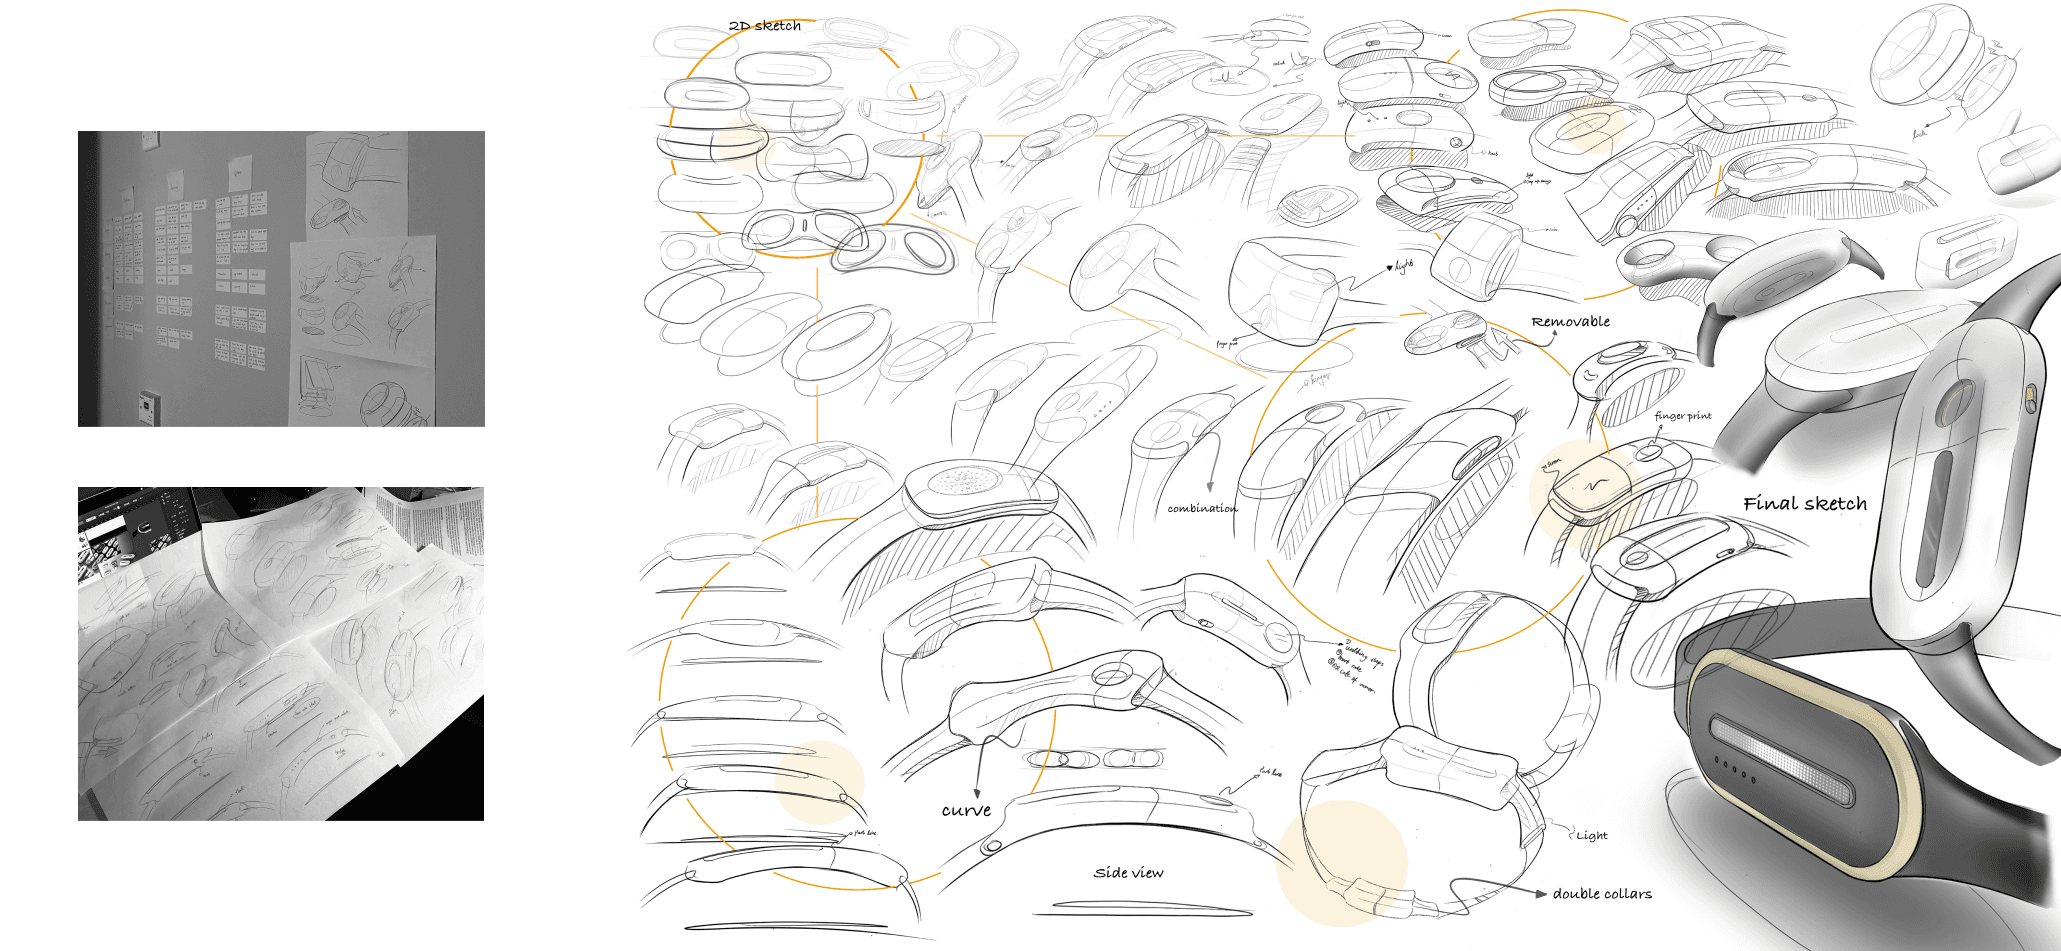
Sketch: I began the process of concept development by exploring form and thinking about a suitable shape.
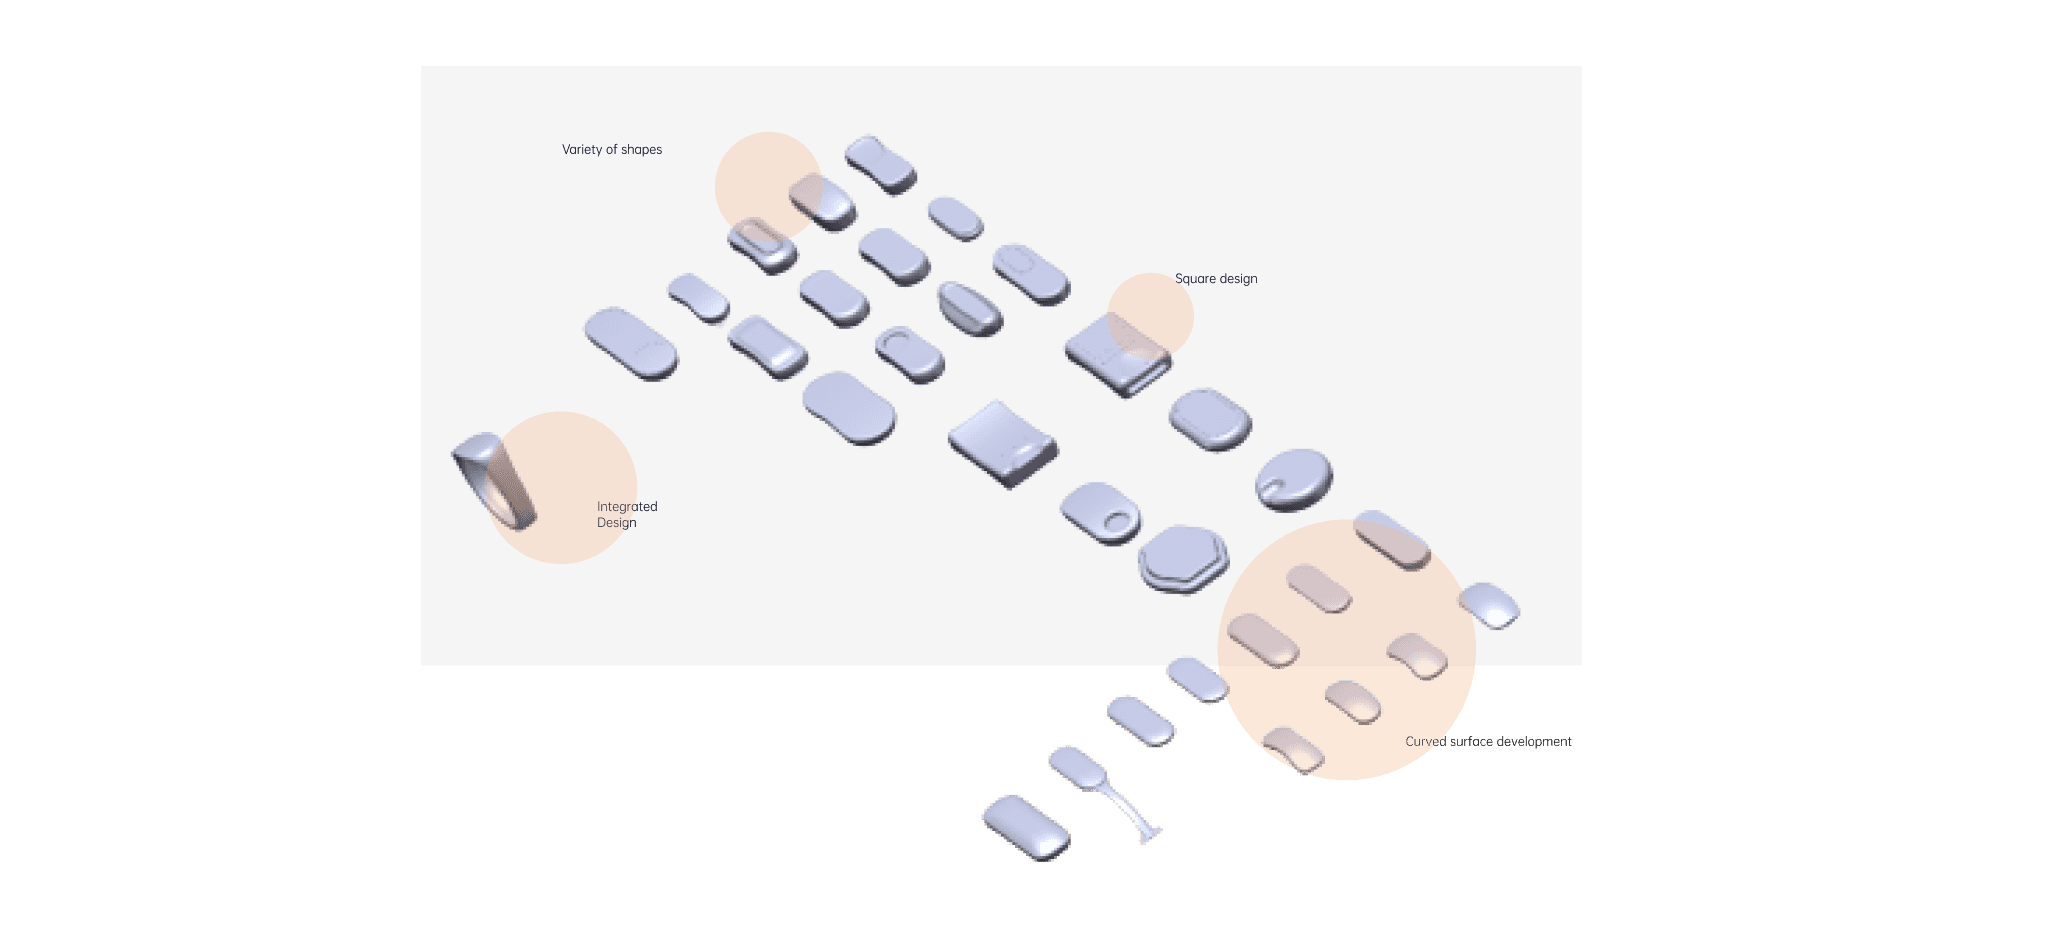
CAD: I began the process of concept development by exploring form and thinking about a suitable shape.During the sketching process, I also used solidworks to quickly build various CAD models so that I could visualise the shape of the product and then I used fusion 360 to create the surface of the product after determining the basic shape.
User Test Feedback
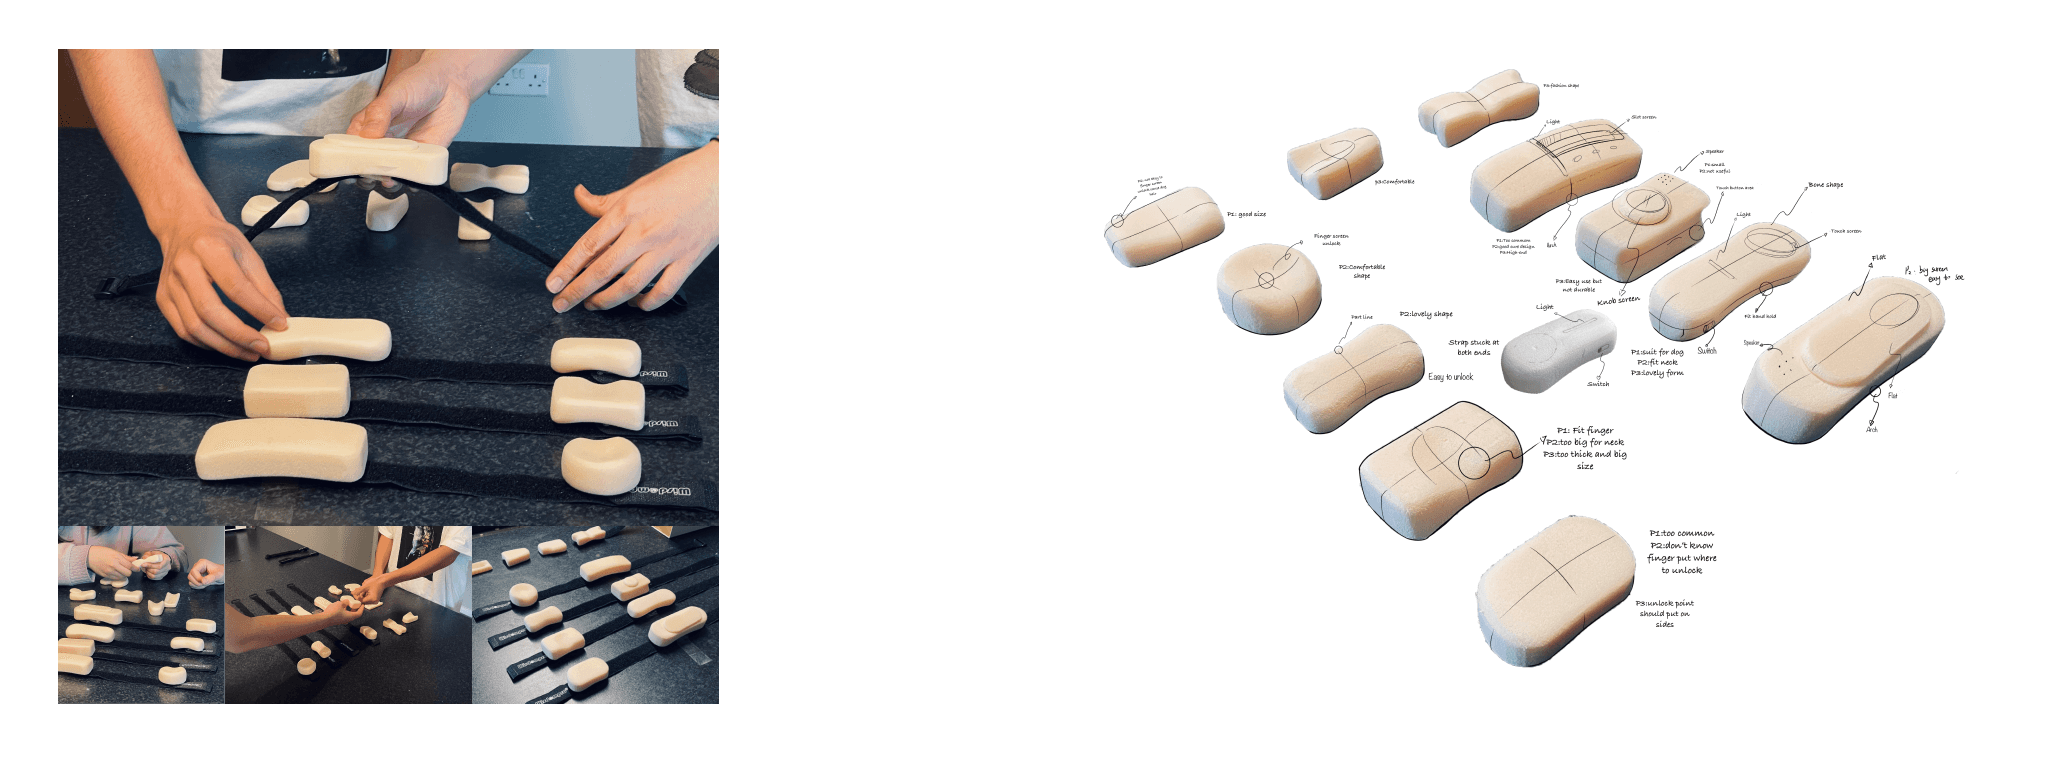
CI started by creating a basic prototype through foam and then went on to do user testing. As each user repeatedly experienced the various foams and gave feedback, I selected the most comfortable appearance of the foam and was able to continue developing the prototype.
3D Print and Finishing
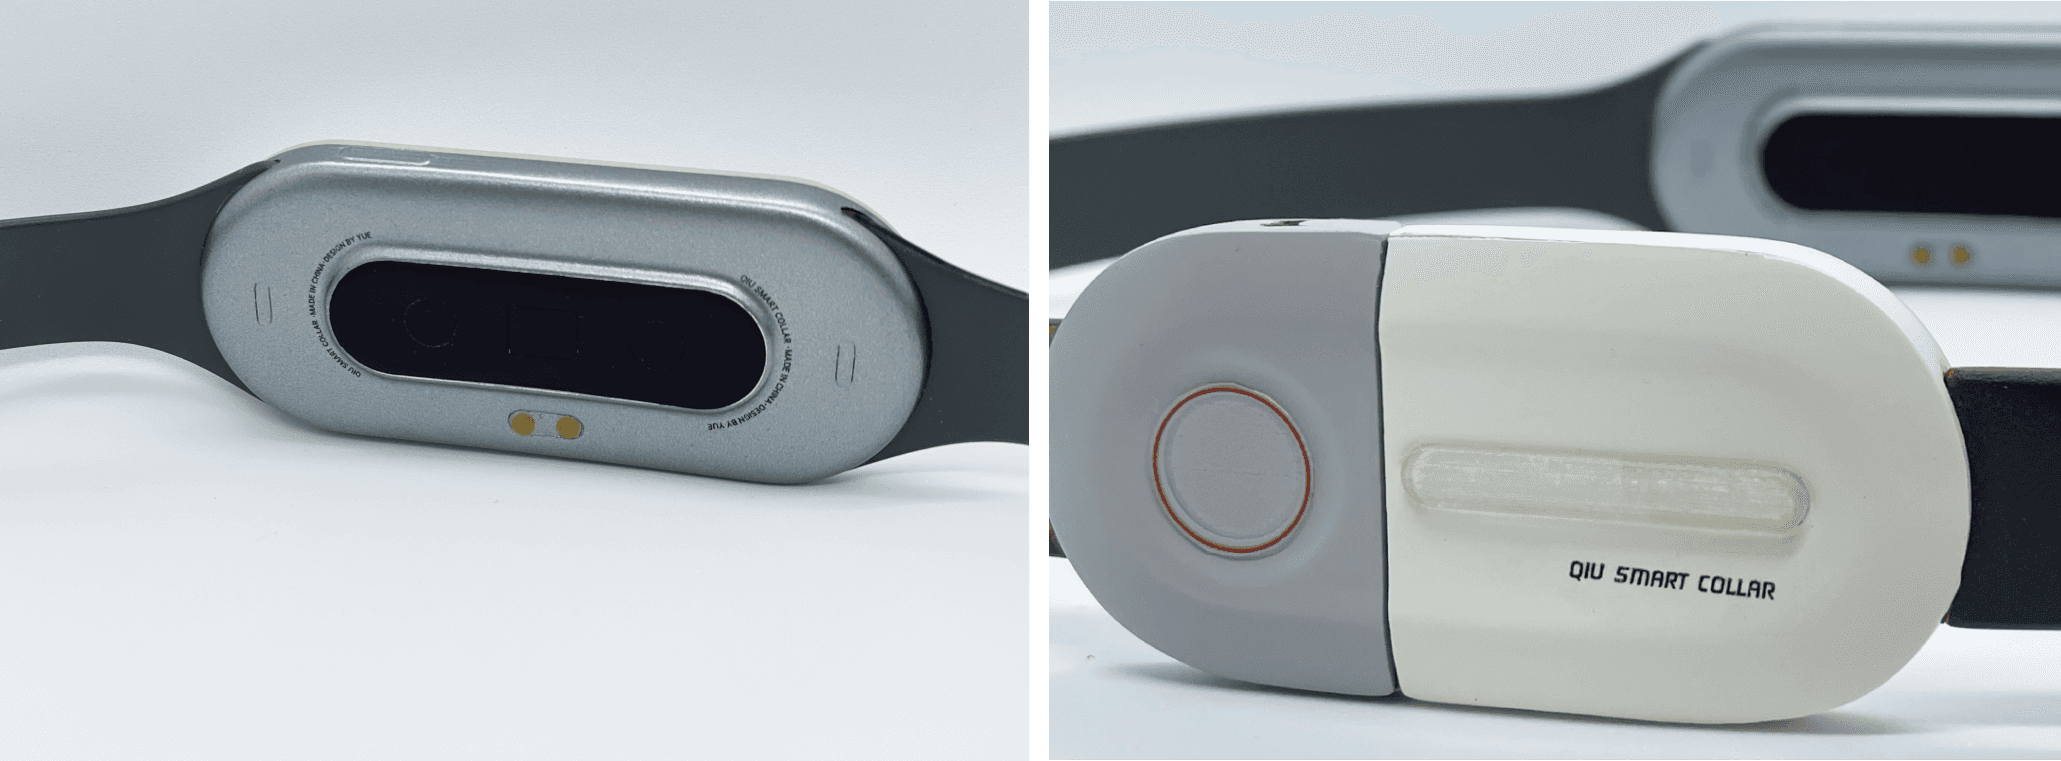
Once the final prototype was decided, I built the final CAD of the collar and 3D printed the model. I started with rougher sandpaper (200, 600, 800grit) and then finally finer sandpaper (1000, 2000grit) until the model was sanded smooth. I then primed the model, dried it, sanded it again, polished it and sprayed it again with primer. Once smooth I spray the model with top coat, dry it again, sand and polish it and repeat a few times to get the final model and finally put the logo and product details on the model with waterslide decals.
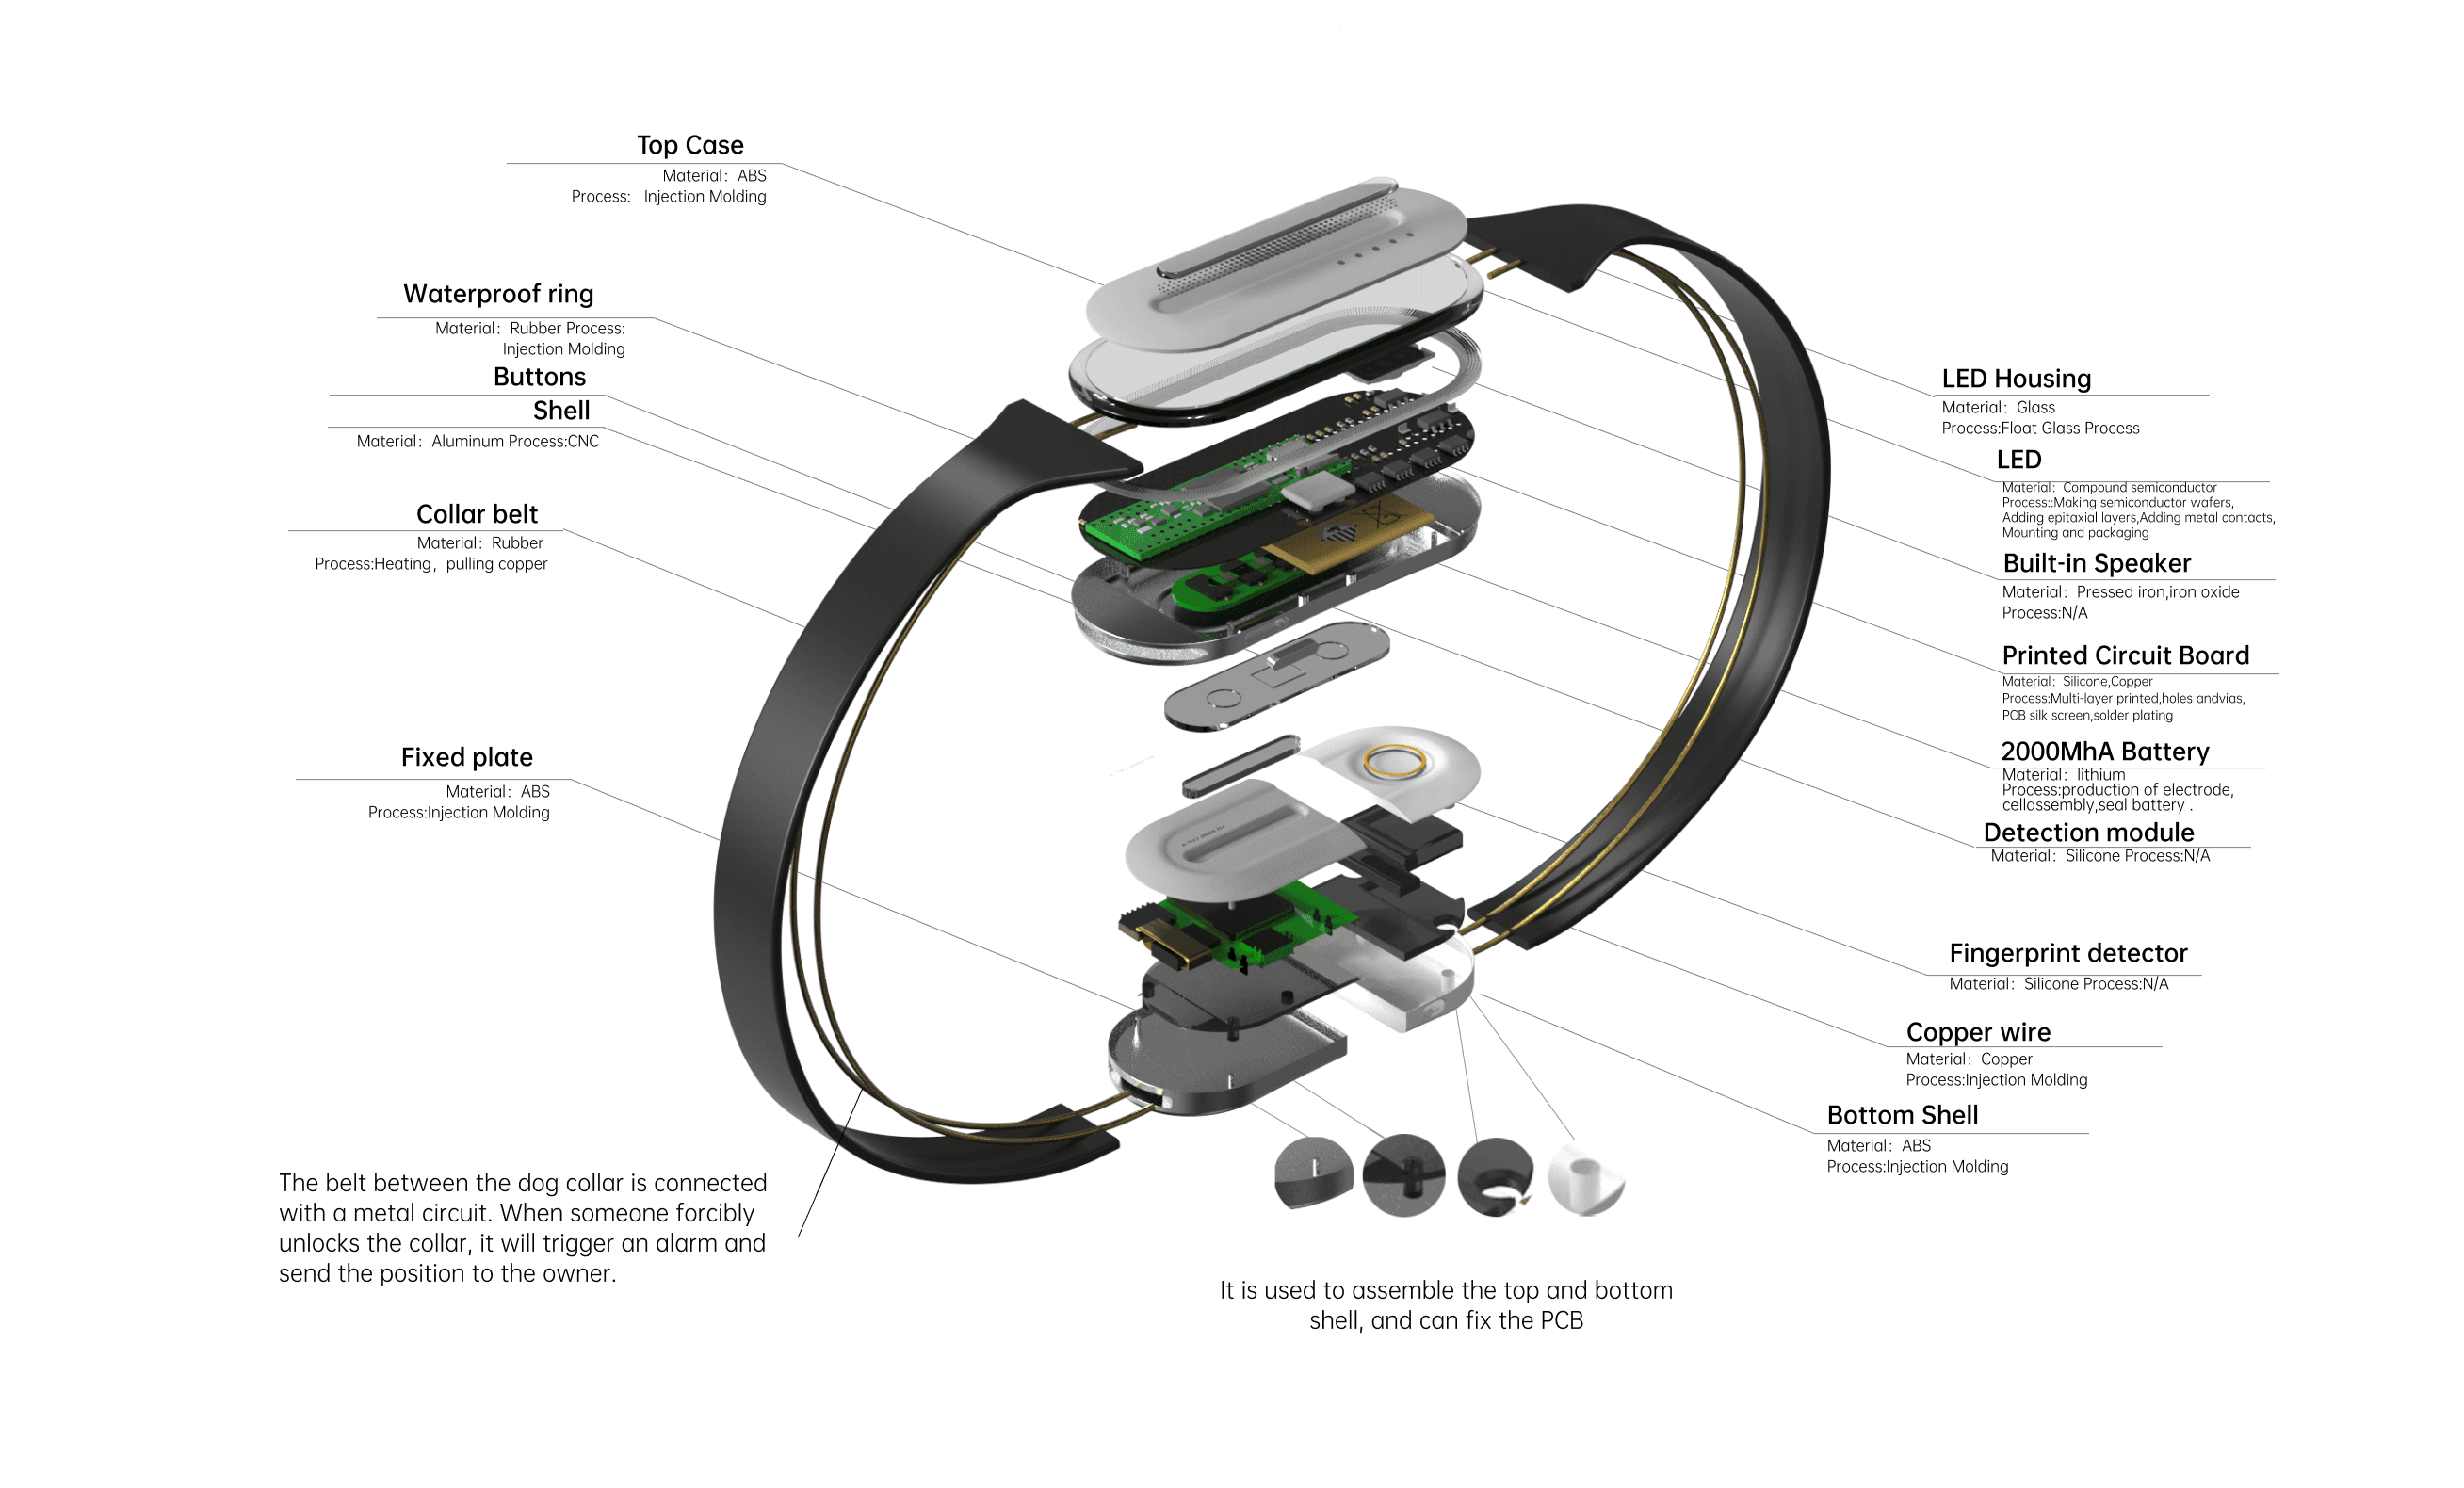
Exploded View
